Campfire Buttermilk Biscuits from Cook It Wild
We’ve tucked a few camping trips into our summer already; it’s our favourite way to unplug and carve out time with friends and family.
My happy place is around the campfire or propane stove, with an enamel mug of camp coffee. I love to cook up meals for the herd of youths that run the beach all day and stay up late under the stars long after I have retired to the tent.
They are enthusiastic eaters, and I welcome their gusto with pots of Campfire Macaroni and Cheese, my beef & bean burritos baked in the coals, and hot breakfasts.
Today’s recipe is a new favourite: the campfire buttermilk biscuits from Cook It Wild cookbook. They are the delicious result of a simple, make-ahead dry mix that comes together with ease at the campsite.
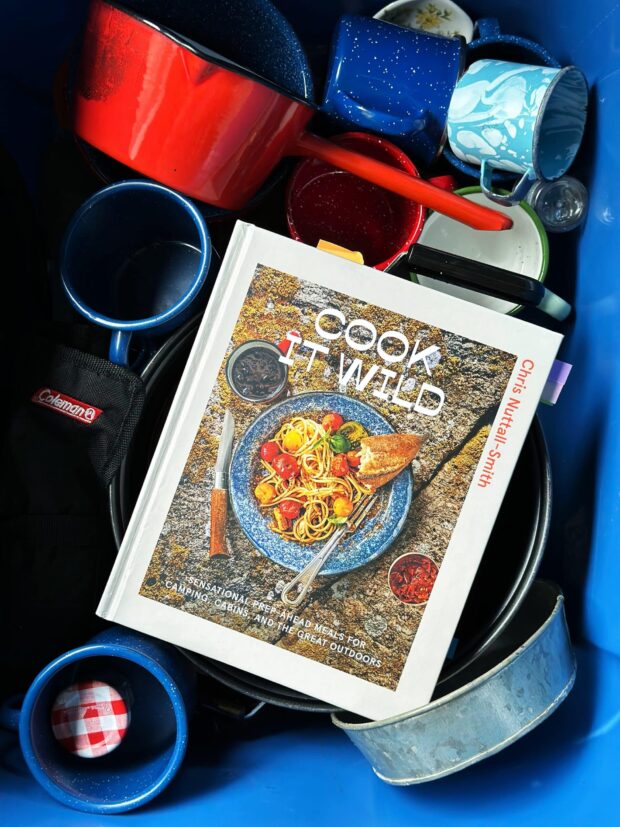
Cook It Wild cookbook
Earlier this year, I was dreaming about camping while waiting for spring to arrive. I was so excited to receive a review copy of Chris Nuttall-Smith’s incredible book Cook It Wild: Sensational Prep-Ahead Meals for Camping, Cabins, and the Great Outdoors (currently on sale and a steal, if you ask me)
I read the entire cookbook, then immediately send a photo of the cover to all my camping friends. It’s SO good and I was ready for some new inspiration.
Sure I love my own nostalgic camping recipes, but I can think of a dozen new recipes from Chris’ book that I would add to my Ultimate Camping Food Day.
Cook It Wild is an essential resource for outdoor cooking, from wilderness adventure to backyard picnic. I know I’ll be using it for years to come.
Recipes we loved from Cook It Wild
The Canadian cookbook authors community is quite small, and so when I saw my friend Camilla cooking recipes outside (in winter!) my curiosity was piqued. As it turns out she (of the award-winning Jam Bake cookbook) was testing for Chris for a book called Cook It Wild. Interesting!
Folks, solid recipe testing, by someone who is not the author, is the first sign of a great cookbook.
I seldom review a cookbook until I’ve tested 6-8 recipes. Well, this book was a joy to crack open and cook through this summer, both at the campsite and at home. Here is what we loved.
- Super Ramen! A choose-your-own-adventure bowl of comfort on a rainy afternoon.
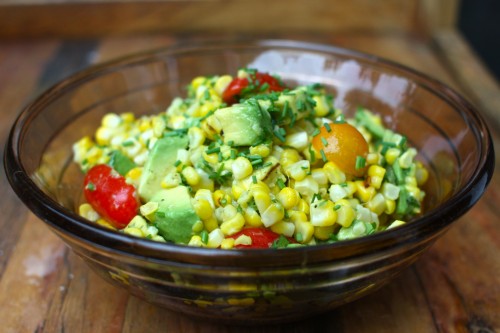
- Fire-Grilled Corn – whole, steamed in husk on the wood fire. Nothing better.
- Fresh Lime Margaritas – why have I never brought premixed margs camping before?!
- Perfect Fire-Grilled Ribeye Steak – with, might I add, Worcestershire butter.
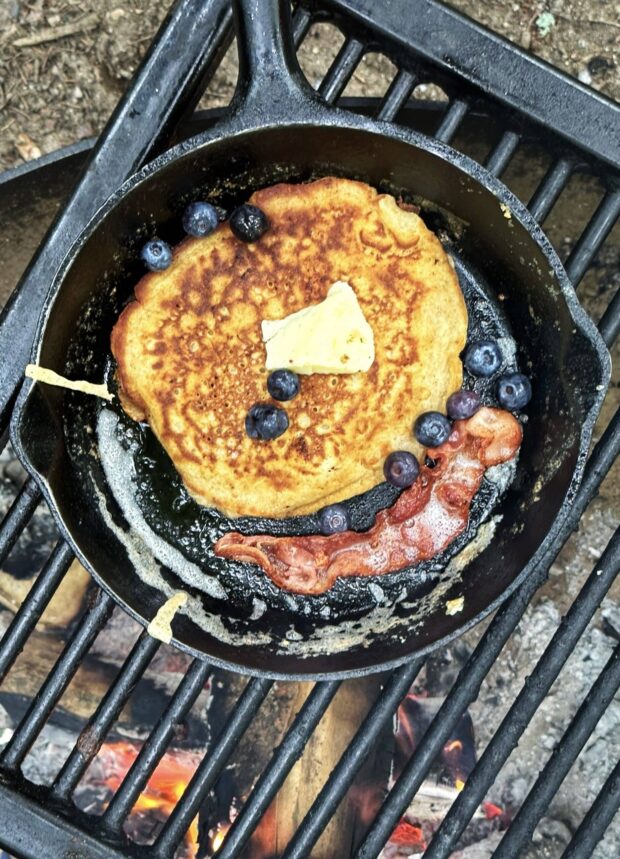
- Buttermilk Powder Pancakes – Another use for the buttermilk powder I purchased for these scones.
- Simplest High Summer Cherry Tomato Pasta – Never mind camping, this recipe is going on the menu plan for the rest of the summer.
Of course, nearly everything was devoured by our party of fourteen before I had half a chance to snap a photo. It was chaotic and delicious.
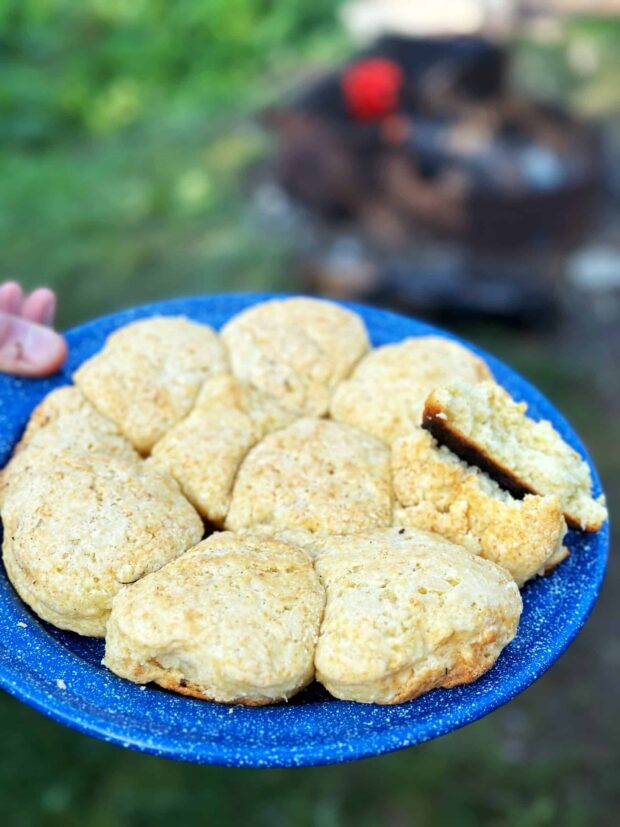
Campfire Buttermilk Biscuits
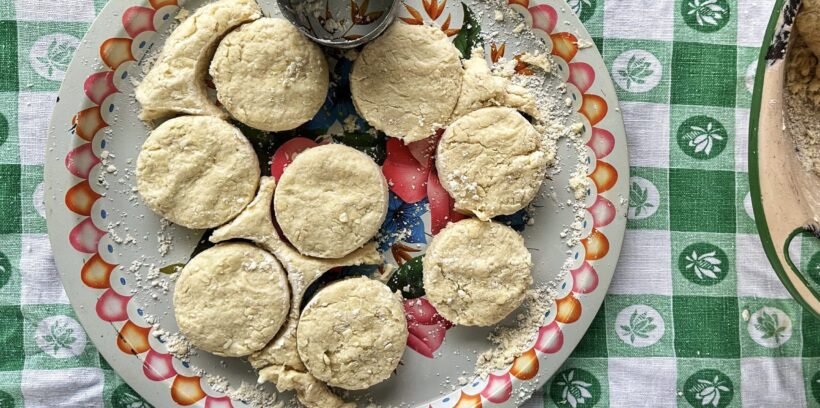
I managed to hold everyone off with a stick while I documented the baking process of these biscuits. Oh what fun!
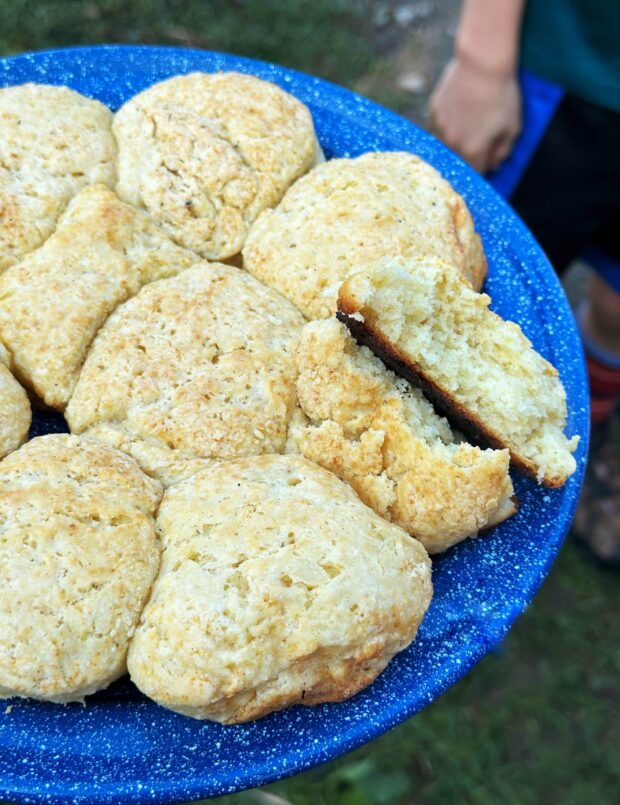
Chris describes these Powdermilk Biscuits as “little buttery exclamation points straight out of the fire’. And he is right. We all burned our fingers, snatching up the flaky biscuits and slathering them with jam.
We brewed three pots of coffee, fried up bacon and eggs and enjoyed a proper camping feast, with these buttermilk biscuits as the star of the meal.
Chef’s Note: These require buttermilk powder (perhaps their secret weapon!), and I wasn’t able to find it in stores. I ended up purchasing the buttermilk powder online. So if you’re planning on making these as soon as possible, just be sure you can source all of the ingredients.
How to Make Campfire Buttermilk Biscuits
Follow the steps and you’ll enjoy hot and fluffy biscuits in the Great Outdoors. Yes, this is a lot of information at first, but bake these through once and you’ll be set for a lifetime of happy camping.
Essential equipment: You’ll need cast iron Dutch Oven. I use mine often when camping for recipes like One Pot Macaroni & Cheese and my Green Campfire Frittata. It’s a handy pot to have and a great investment.
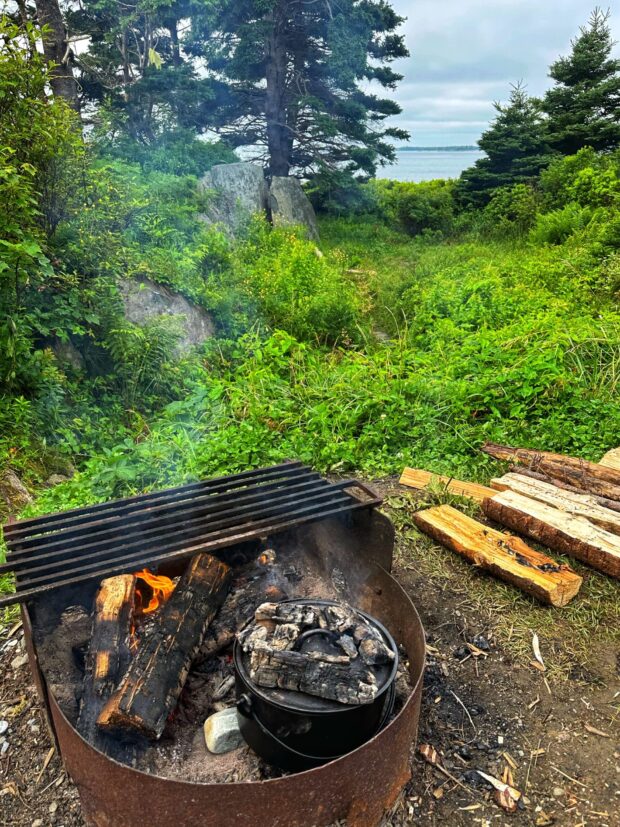
Build the Campfire
Review Keys to Successful Campfire Cooking such as using dry wood and grading your coals. Get a campfire started and make a pot of coffee. Enjoy your coffee while the fire burns down to coals.
I also make sure there’s a clear path from the campfire to the picnic table. No one wants to trip while carrying a hot cast iron cauldron.
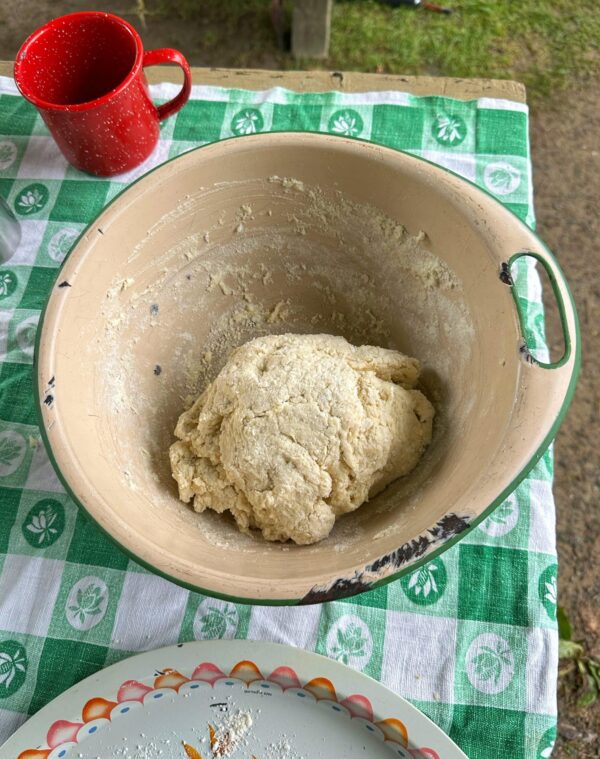
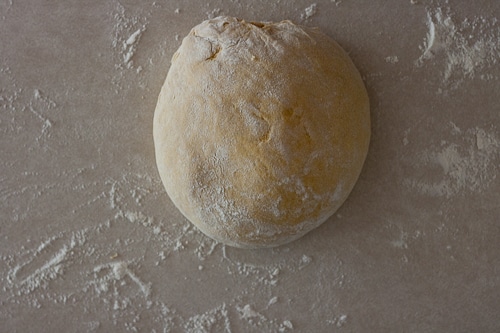
Mix and Knead the Dough
Prep a work surface. I like to lay out a tablecloth and clear away any clutter.
Combine the premade biscuit mix with water. Use a light touch here as you don’t want to overwork the dough. You could also do this right in the bag, if you don’t have a bowl.
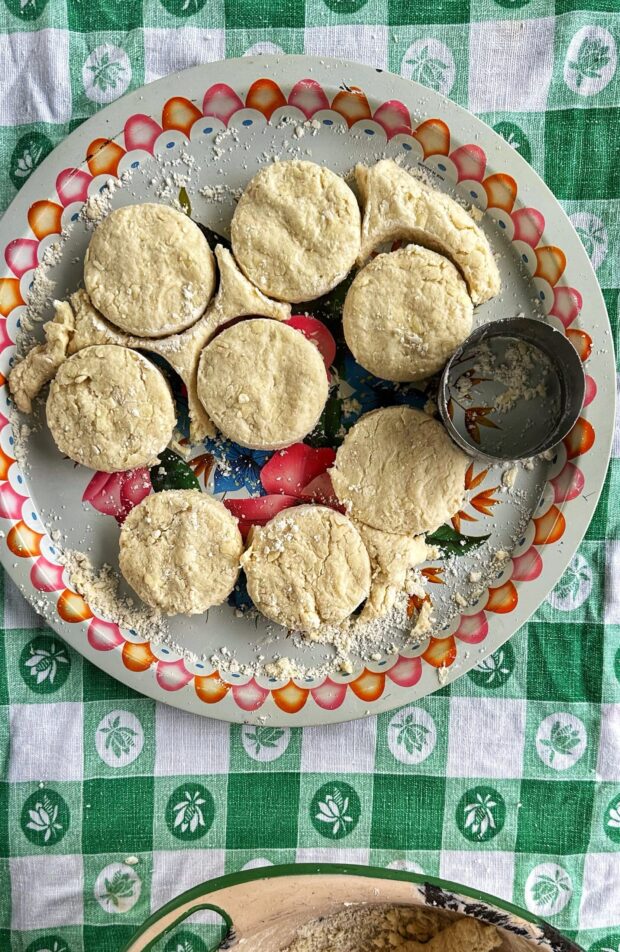
Shape and Cut the Biscuits
Flour your hands with a bit of biscuit mix and pat the dough down to 3/4 inch thick. Cut into 8 or so rounds. I have a biscuit cutter, but you can also cut the biscuits into squares.
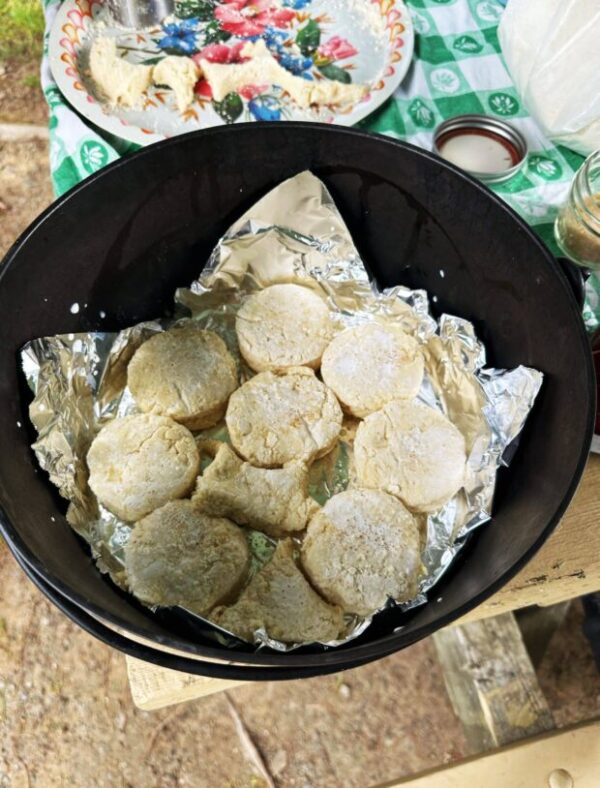
Line the pot with parchment or foil and add your biscuits. The author suggests placing them in upside down so that they rise higher. I tested both ways and didn’t see much of a difference.
Bake the Biscuits
Make sure you have a sturdy oven mitt and a pair of stainless tongs for moving coals.
Here’s where a little campfire experience pays off. If you’re a beginner, don’t worry, Chris lays it all out clearly in the cookbook: Ash and a few coals. Even heat. Coals on top of the pot. Rotate the pot every few minutes.
Stay close by. Don’t take a walk down to the beach just yet.
Bake the biscuits for 8 to 12 minutes total, depending on your heat. Feel free to take a peek inside and see how they are progressing. They should be lightly golden when baked.

Helpful Campfire Baking Tips
Preheat the lid to the dutch oven for at least 10 minutes. Then when you add it to the pot, the biscuits already have 360 heat.
I like to set myself up with some soapy hand washing water before I get started. I’m making biscuits by hand, after all!
Rotate the cast iron Dutch oven a quarter turn every 3-4 minutes, just incase you have any hot spots. This way the biscuits will cook evenly.
Happy Camping!
Campfire Buttermilk Biscuits
Ingredients
At Home
- 2 1/4 cups all-purpose flour
- 1/4 cup buttermilk powder
- 1 Tablespoon baking powder
- 2 teaspoons granulated sugar
- 1 teaspoon Kosher salt
- 1/4 teaspoon baking soda
- 1/4 cup shortening or lard
- 1/4 cup salted butter cold, cut into chunks
At Camp
- prepared biscuit mix (above)
- 2/3 cup water
- softened butter for serving
- jam or honey for serving
Instructions
At Home: Make the biscuit mix
- In the bowl of a food processor, combine the flour, buttermilk powder, baking powder, sugar, salt, baking soda, lard, and butter and pulse to form a coarse mixture with pea-size butter and shortening chunks. If any bigger stubborn chunks remain, rub them into the flour with your fingers until they're pea-size or smaller. (I did this part by hand, grating the cold butter on a box grater)2 1/4 cups all-purpose flour, 1/4 cup buttermilk powder, 1 Tablespoon baking powder, 2 teaspoons granulated sugar, 1 teaspoon Kosher salt, 1/4 teaspoon baking soda, 1/4 cup shortening, 1/4 cup salted butter
- Pack the biscuit mix into an airtight resealable bag or container, and refrigerate or freeze. It will keep for 3 months, frozen. A great-do ahead camping breakfast!
- Trace the bottom of your Dutch oven onto a sheet of parchment paper. Cut out the outline and then pack it along with your Dutch oven. You can also use foil at the campsite, if you forget this step like I did!
At Camp: Fire and Baking Prep
- Get a campfire fire going for baking and preheat the Dutch oven lid for 10 minutes. You want hot ash and a few coals, with slow burning logs on the side.
- Prep your work surface. Dust a flexible plastic cutting board, large plate, or skillet with 1 tablespoon of the biscuit mix. Make sure you have a sturdy oven mitt and a pair of stainless tongs for moving coals.
Shape the Biscuits
- Empty all but 2 tablespoons of the biscuit mix into a medium bowl, reserving the remaining portion for kneading and rolling. Pour the water evenly over the top of the biscuit mix and combine with a fork, spoon, or your fingers until a shaggy dough forms. (Don't worry if it doesn't all come together yet.)Dust your hands with a bit of the reserved dry mix, then gently press the dough into a single mass inside the bowl. Knead five to ten times, just until the dough holds together. (If it absolutely refuses, you can add a teaspoon or so more water.) Transfer to the prepared rolling surface.2/3 cup water
- Make sure the parchment round (or foil) is in the bottom of the Dutch oven.Using a clean water bottle, roll the dough (or gently pat it out with your palms) into a ¾-inch-thick round or square, adding a sprinkle of dry mix as necessary to keep it from sticking.If using a biscuit cutter, make eight to ten biscuits, reworking the scraps as necessary to form new biscuits. Flip the rounds upside down (it'll help them rise) and arrange in the prepared Dutch oven.If using a knife, trim the outside edges (reserve the scraps), then cut the dough into nine even squares. Flip them upside down (it'll help them rise) and arrange in the prepared Dutch oven. Then form the scrap dough into a disc and tuck it into a gap to bake.
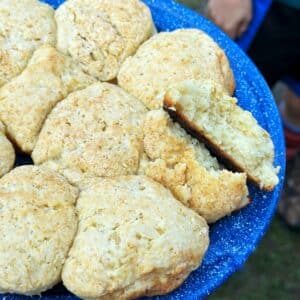
- Here I brushed my biscuits with cream and sprinkled them with sugar. It's not necessary, but delicious!
Bake and Serve
- Prep a baking space in your campfire: an area of hot ash with a few coals. Nestle three rocks or a cast iron trivet into the ash and place your Dutch oven with biscuits on top of them. Top with a hot lid. Transfer a few hot coals or charred logs onto the lid. Stay close by. Enjoy a cup of camp coffee!
- Bake the biscuits for 6 to 12 minutes total, depending on your heat. Rotate the Dutch oven every 4-5 minutes to ensure even baking.Peek in on them after 6 minutes. If they still look like raw dough, instead of puffy biscuits, add coals under the Dutch oven and on top of the lid, and adjust the time accordingly.
- When the biscuits are puffed and medium-golden, carefully remove the Dutch oven from the heat. Transfer the biscuits to a plate to cool slightly. Serve the biscuits with butter and jam.
Notes
Nutrition
Excerpted from Cook It Wild by Chris Nuttall-Smith. Published by Penguin Books Canada®, a division of Penguin Random House Canada Limited. Powdermilk Biscuits recipe reproduced with permission from the author. All rights reserved.

love the unplugging! and with these biscuits, lovely, will check out this cookbook, thank you!
Can this be done with a cast iron skillet
It needs a tight fitting lid to create oven-like temperatures. I don’t think a skillet would work very well, sorry!