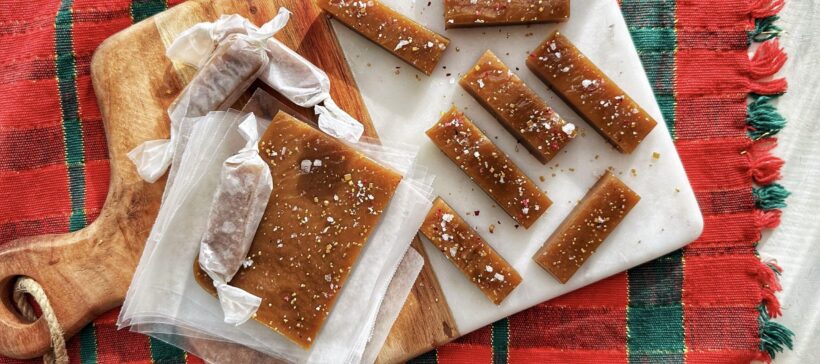
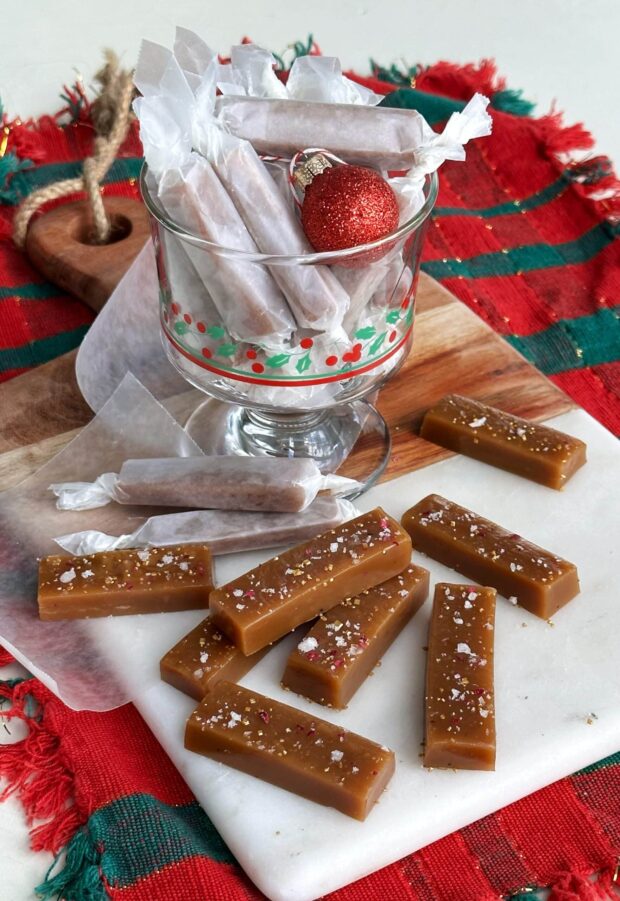
Homemade Salted Caramels with Nutmeg
Do-ahead, big-batch, no-fail and delicious – yes, all these descriptors apply to this recipe for homemade salted caramels with nutmeg.
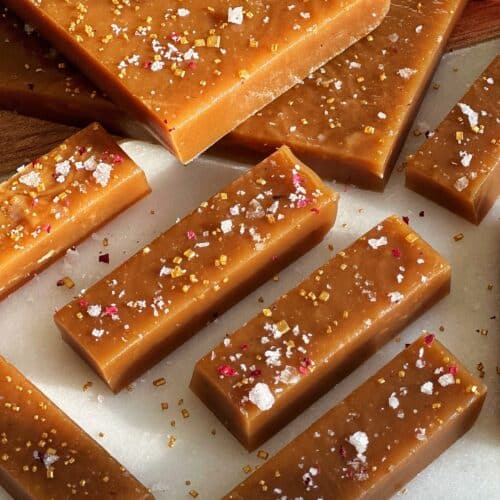
These buttery, soft caramels are perfect for when you need a simple, no-bake recipe with a big wow factor. They are deeply satisfying with just the right amount of chew. A festive dash of nutmeg brings a warm hint of holiday flavour, and a generous sprinkling of flaky salt balances out the sweet caramel.
Homemade Salted Caramels with Nutmeg make a wonderful big batch, perfect both for gifting and rounding out your Christmas cookie plate. Read on for the recipe and tips for success.
Our little lakeside cottage is surrounded by December snow and it has put us in the holiday spirit. The Simple Bites kitchen has been sugar central, as the kids and I have been baking all of our favourite Christmas cookies.
Sure we have our established repertoire of shortbread and spice snaps, but this year I was inspired to try something new to me: homemade caramels.
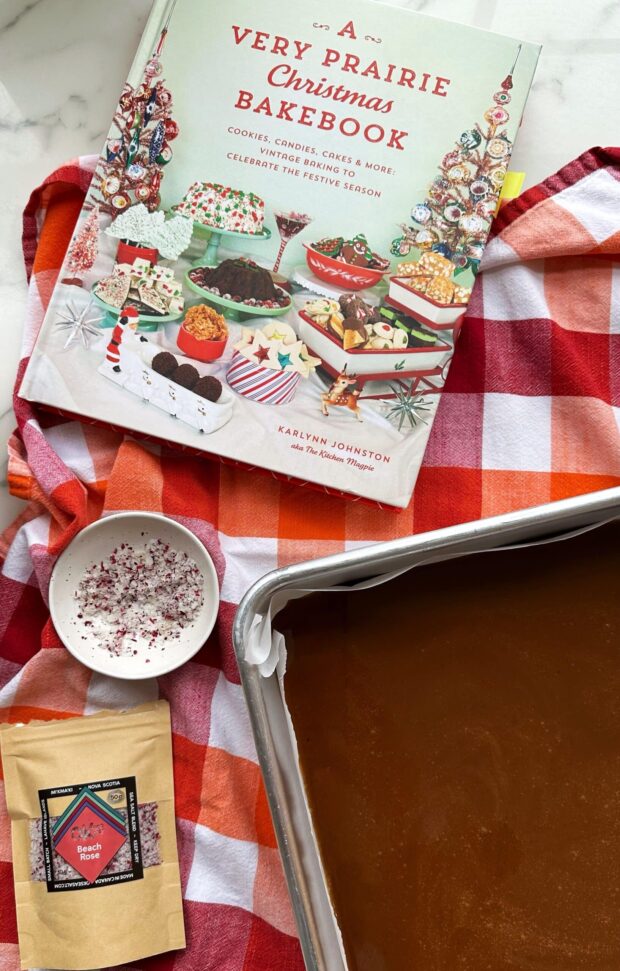
I’ve been swept away by the magic of festive vintage baking, thanks to the new A Very Prairie Christmas Bakebook. It’s the latest (and perhaps greatest?) work from beloved Canadian author Karlynn Johnston of The Kitchen Magpie.
The book made it into My Favourite Cookbooks of 2023 and continues to deliver hit after hit.
This recipe was a success on the first try, even with my slight variations, playing with spices and sugars. The kids and I absolutely loved the soft caramels – as did everyone who sampled our gifted candies.
Mix, boil, cool, cut and wrap; caramels are a relatively simple process and so much fun along the way! I think it is fair to say that homemade salted caramels with nutmeg will be a staple in our annual Christmas baking.
Special Equipment for Homemade Candy
Before we get too far into the post, you should know that you will need a candy thermometer or instant read thermometer. I’ve listed my favourite, along with so many other handy gadgets in my Essential Kitchen Tools for Baking.
I also recommend a large (5 or 6 quart), heavy bottomed pot, as you will be boiling the caramel for a considerable amount of time and you do not want to risk overflow. That’s it for specialty equipment!
Flavours for Homemade Salted Caramels
Sure, a classic caramel is perfection on its own, especially with a lovely flaky salt sprinkled on top. But I love to bring the bold flavours, especially this time of year.
To me, a sprinkling of nutmeg is evocative of everything good about Christmas: spiked eggnog, flaky mince pies, fluffy mashed potatoes, rolled gingerbread and yes, even our comforting Tourtière. Nutmeg perfectly complements cheese dishes, as well as root vegetable sides.
In December, both our bread pudding and French toast have a grating of nutmeg, perfuming the whole house in the process. I order my nutmeg whole from Spice Trekkers and grate it fresh each use.
For most of these drinks and dishes, a light touch of freshly ground spice is all that is needed, but these homemade caramels are boldly sweet and salty. I bump up the nutmeg for a pronounced flavour that is warm and festive.
Not everyone is crazy about nutmeg, I get it. So here are a few alternatives:
- Tonka bean! Try something new and grate a tonka bean into the caramel. It’s a particularly perfect pairing. I made a whole batch with just tonka and wow!
- Vanilla bean seeds – scrape the seeds from a fresh vanilla pod into the sugars a the beginning of the cooking process.
- Cardamom – a little goes a long way with this delicate spice. Add 1/2 teaspoon of finely ground cardamom
- Maple – add a few drops of maple flavouring along with the vanilla
Chef’s Note: Sea Salt Topping! This is an essential garnish, and helps to balance out the intense sweetness of the caramel. Choose flaky salt and don’t be shy to play around with different flavours such as smoked salt, coffee salt or pine salt. Here I’ve used the Beach Rose from OK Sea Salt, a local brand here in Nova Scotia. It was wonderful and floral with the warm nutmeg.
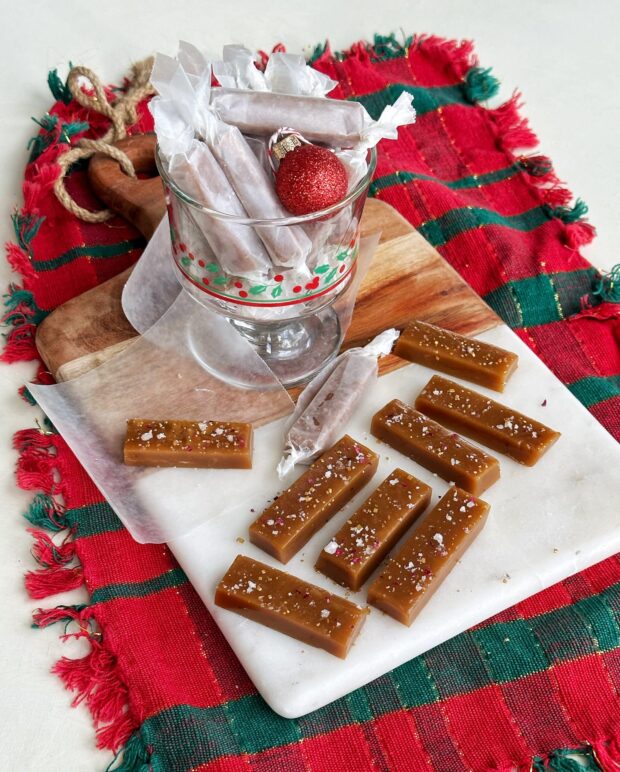
Wrapping and Gifting Salted Caramels
Who wouldn’t love to receive a tin of homemade confections? I can tell you, just about everyone.
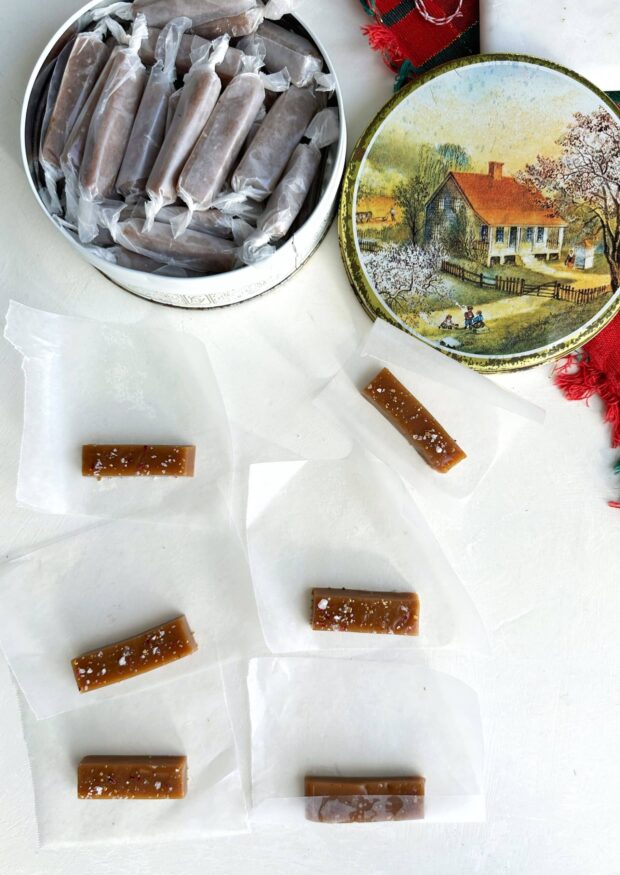
You can buy the wrappers (wax or clear cellophane) on Amazon, but I simply cut squares out of parchment paper. I rolled them while watching Hannah Waddinham’s Christmas special, and all 90 were rolled buy then end.
Once the caramels are rolled, transfer them to a resealable bag or airtight tin and freeze them until you are ready to gift.
I like to thrift for vintage cookie and tea tins to present my homemade treats for gifting. They can hold in the freezer without fear of getting jostled and crushed, and they look cute to boot.
Homemade Salted Caramels with Nutmeg
Ingredients
- 1 teaspoon pure vanilla extract
- 1 1/2 cups granulated sugar
- 1 1/2 cups dark brown sugar packed
- 2 cups heavy cream 35%
- 1 cup light corn syrup
- 1 cup salted butter cubed
- 1 teaspoon freshly grated nutmeg
- 2-3 teaspoons flaky sea salt to finish
Instructions
- Line a 13- × 9-inch pan with parchment paper. Press in the corners firmly. Tip: pre-measure the vanilla into a small pinch bowl and place it in the prepared pan – with this visual, you won't forget to add the vanilla at the end of the boiling.
- In a 6-quart, heavy-bottomed saucepan, combine the granulated sugar, brown sugar, cream, corn syrup, butter and nutmeg. Heat over medium-low heat, stirring constantly, until everything has melted.
- Cook, stirring gently and frequently, until the mixture reaches 244°F on an instant-read thermometer. This can take up to 1 hour, depending on your stove.You can also test it by dropping a small portion of the mixture into a bowl of cold water; if it forms a firm ball, it's ready.
- Remove from the heat and stir in the vanilla. Carefully pour the caramel into the prepared pan. You may want a helper to scrape out the pot.
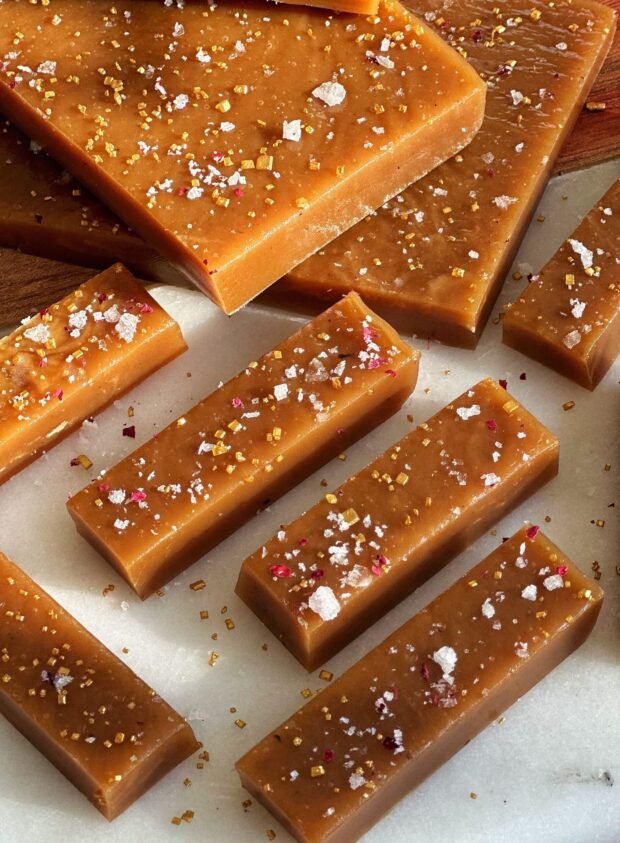
- Tap the pan gently on the counter a few times to release any air bubbles. Sprinkle caramel generously with sea salt, and any gold or sparkly sprinkles. Let caramel firm up at room temperature for 3 to 4 hours.
- Meanwhile, cut waxed paper into about 90 small squares for wrapping the caramels.Slice the caramel lengthwise in the pan into four slabs. Working with one slab at a time, place it on a cutting board and cut the caramels into 'logs' about 1/2-inch by 2-inches.You should get about 22-24 pieces per slab for a total of about 90 caramels. Of course, you can cut them into any shape or size you wish!
- Individually wrap each caramel in waxed or parchment paper, twisting each end tightly. Store in an airtight container at room temperature for up to 1 month, or freeze in the container or in heavy-duty freezer bags for up to 6 months.
Adapted from A Very Prairie Christmas Bakebook with permission from the author, Karlynn Johnston. Published by Penguin Books Canada®, a division of Penguin Random House Canada Limited. All rights reserved.
This post contains Amazon affiliate links which helps to support the website.