Chocolate Truffle Layer Cake
A decadent and foolproof one-bowl cake that’s perfect for celebrations, or an everyday bake when a craving for chocolate arises.
I hesitated to bring one more chocolate cake to the blog, but this towering, velvety chocolate truffle layer cake is the last recipe you will ever need.
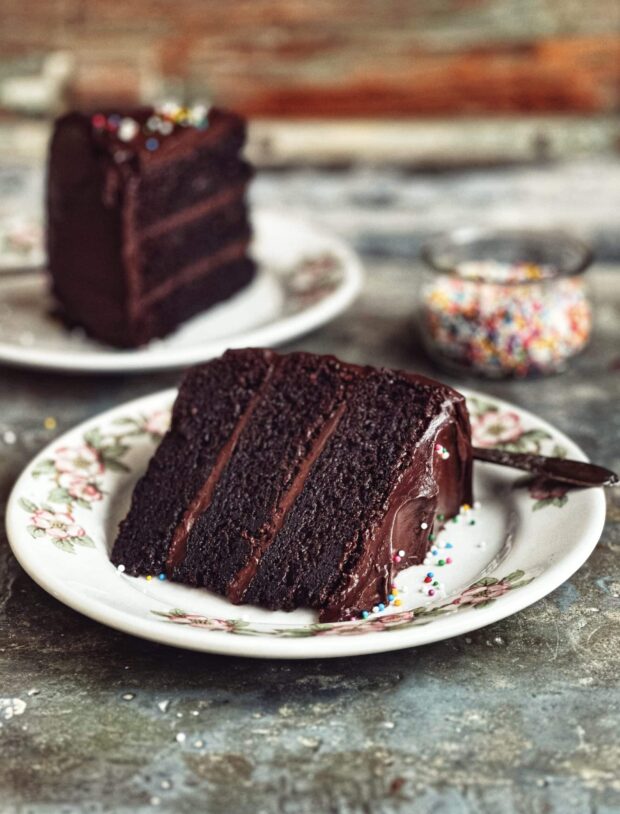
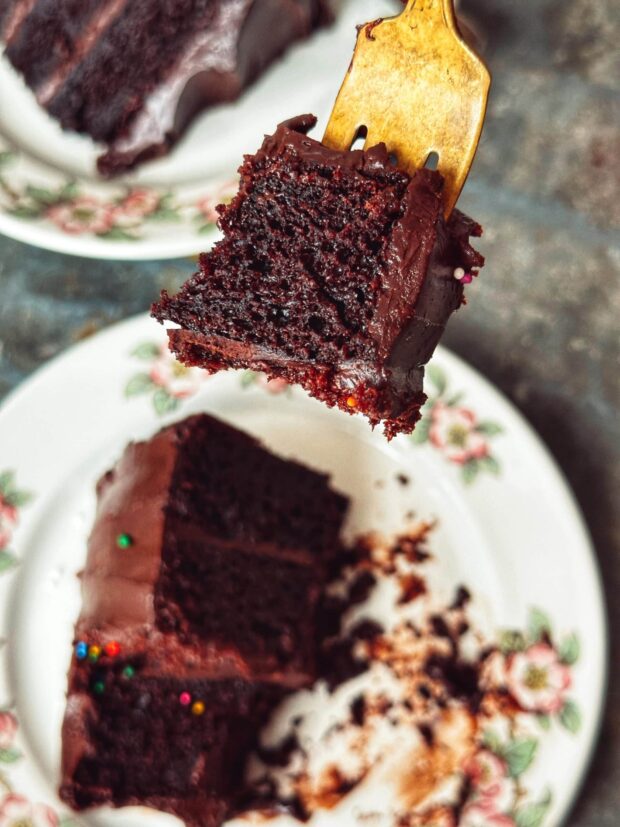
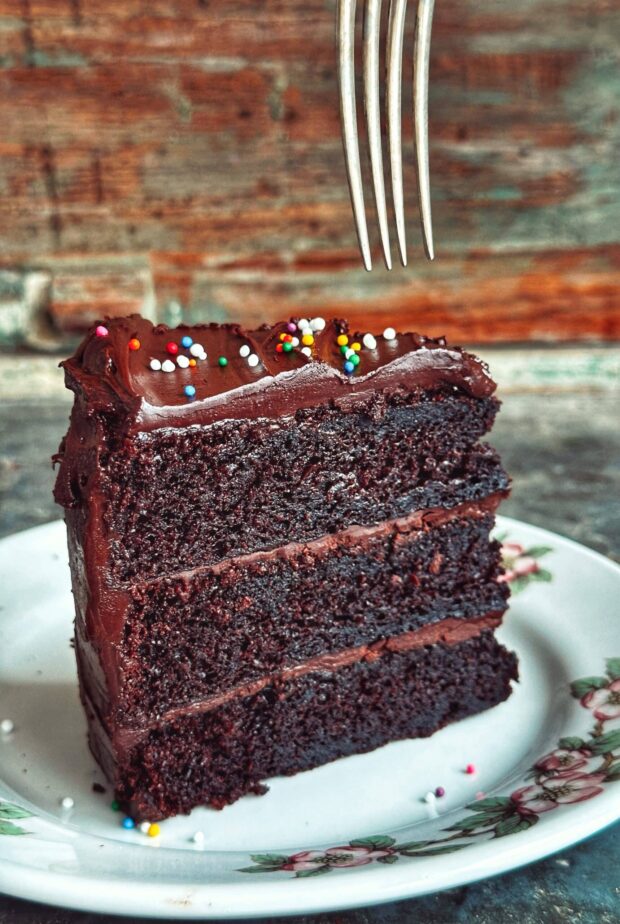
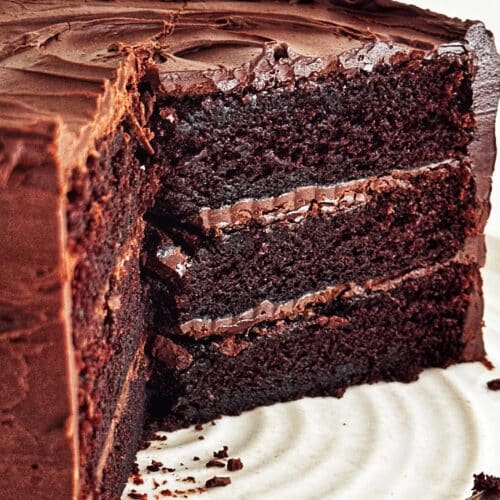
Three layers of a delicate sour cream chocolate cake sandwiched together with a whipped, intense chocolate frosting make for a memorable dessert and the grande finale to any gathering.
Loved by all, it is our go-to cake for a birthday celebration. It’s my Galentine’s pot-luck cake, sliced up and shared with girlfriends. I’ve even been known to transport the entire cake on a group camping trip and carve it up, slice by slice, in the woods.
This one is for all the friends and family who have asked for this recipe over the years. Here’s to making our special occasions and milestone birthdays even sweeter.
Chocolate Truffle Layer Cake
This is a decadent one-bowl cake that’s perfect for the beginner baker. I’m convinced that once you try this no-fail recipe, it will become your go-to for special occasions. It’s decadent in a way Chocolate Beet Snack Cake could only aspire be.
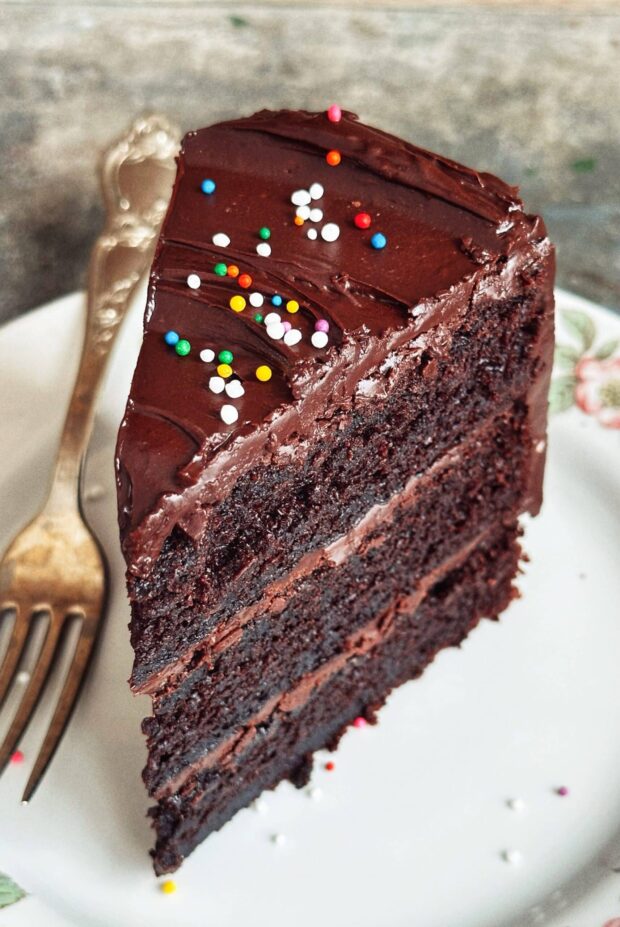
Sour cream keeps the cake layers tender, while Dutch processed cocoa brings the deep chocolate flavour. A whopping twelve ounces of chocolate in the frosting ensure that all chocolate cravings are met!
Frosting + Decorating: I’ve kept the decorations minimal on this cake. There’s no advanced frosting skills required and no piping bag. I really want you to attempt it! However, my friend Tessa of Style Sweet is a master cake baker and has lots of tutorials for decorating a cake on her blog.

Tips for the Best Cake Results
I love how this cake comes together in one bowl, everything stirred together by hand. It’s a great kitchen project to make with kids! Follow my tips below to achieve perfect results every time.
Tips for Baking
- Check expiry dates and use fresh ingredients
- Begin with all ingredients at room temperature
- Do not over-beat the batter
- Bake in the middle of the oven
- Don’t open the oven during the baking
- Cool cakes in the pan for 15 minutes before inverting onto cooling racks

Tips for Frosting:
This chocolate truffle frosting is adapted from Martha Stewart’s Baking Handbook, a treasure if there ever was. Here’ are my suggestions:
- Use the best quality of chocolate and butter as you can manage. These two ingredients make up the bulk of the frosting.
- Cool cakes completely before frosting, even freeze them slightly. They are delicate to handle unless chilled.
- Ice the cake as soon as the frosting has been made. It will firm up as it cools, so you want to work while it is still soft.
Best Tools & Equipment
This recipe requires three 8-inch pans, which are fairly standard for layer cakes. I have a collection, most of them are second hand. Check your local thrift store if you are short a pan or two.
An offset spatula is one of my essential kitchen tools for baking. It makes frosting a cake much easier.
Storing and Freezing Chocolate Truffle Layer Cake
Store this cake on the counter, under a glass dome or in one of those retro Tupperware cake holders. If your household can resist temptation, the cake will stay fresh for one week.
To serve: Microwave 8 seconds to get that freshly baked texxxture. TeXXXture, baby.
Make Ahead:
The cake layers can be baked, cooled, double-wrapped in plastic and frozen for up to 4 weeks. Assemble and frost the layers while frozen, then let the cake come to room temperature before serving.
Freezing by the slice: Leftover cake slices can be frozen between layers of parchment. Once solid, wrap them in plastic or transfer to an airtight container.
Variations on Chocolate Truffle Layer Cake
This cake is a fabulous canvas for any occasion you may have to celebrate! In my experience, chocolate layer cake is always appropriate.
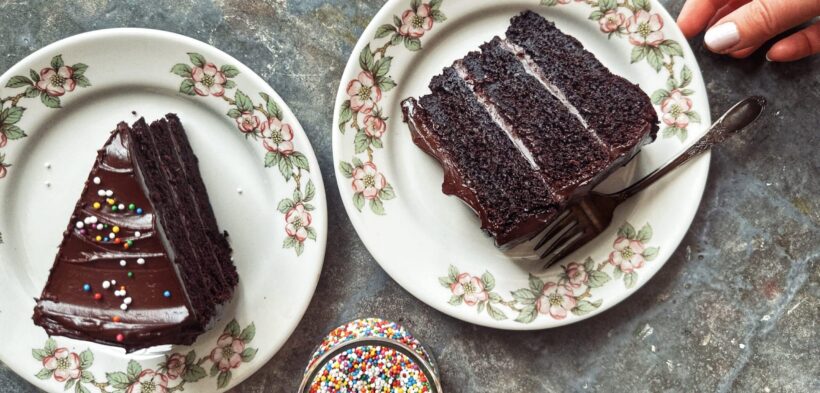
It’s primed for a dazzling array of birthday candles and sprinkles; it’s gorgeous with a simple scattering of rose petals.
In peak summer I’ll arrange raspberries in a spiral on top, sinking them deep into the warm truffle frosting. PS: It’s best to serve on the same day when decorating with fresh fruit.
For Danny’s birthday, I’ll add a layer of mini marshmallows squished between the ganache. Or? Grab a piping bag, choose a message, and make it your Compliment Cake, a la Joy the Baker.
Chocolate Truffle Layer Cake
Ingredients
For the Cakes
- 2 cups all-purpose flour
- 3/4 cup dark Dutch-process cocoa powder
- 2 teaspoons baking soda
- 1 teaspoon fine sea salt
- 2 1/3 cups granulated sugar
- 1 cup sour cream room temperature
- 1 cup neutral oil canola or vegetable
- 1 1/3 cups water
- 2 teaspoons pure vanilla extract
- 2 Tablespoons white vinegar
- 2 large eggs room temperature
For the Frosting
- 12 oz semi-sweet or dark chocolate or a mix of both, chopped
- 3/4 cup unsalted butter cut into cubes
- 1/2 cup powdered sugar
- 1/2 teaspoon pure vanilla extract
- 1/4 cup dark Dutch-process cocoa powder
- 1/4 cup hot water
- 1/4 teaspoon flaky sea salt or more to taste
Instructions
Bake the Cake Layers
- Preheat the oven to 350℉. Place the baking rack in the middle of the oven.Lightly oil the bottoms and sides of three, 8-inch round cake pans or grease with baking spray. Cut a circle out of parchment paper and line the bottom of each pan. Lightly oil the parchment.
- In a large mixing bowl, sift together the flour, cocoa powder and baking soda. Add the salt and sugar; mix well to combine. It should be thoroughly mixed and look like a boxed cake mix!
- Make a hole in the dry ingredients. Pour in the sour cream, oil and water. Using a study whisk, beat all the ingredients together until a smooth batter forms. Add in the vanilla, vinegar and eggs. Again, beat the batter until smooth with no lumps remaining.
- Divide the batter between the three prepared pans. Place on the middle rack of the oven. Bake for 28-33 minutes, or until a cake tester or wooden toothpick inserted in the center comes out almost clean.
- Remove cakes from oven and Let them cool in the pans for about 20 minutes. They will collapse slightly, but that's normal. Run a knife around the edges of the pans and invert them onto three cooling racks. Peel the parchment off the bottom. Let the cakes cool completely while you make the frosting.
Prepare the Frosting
- Set a small pot over low heat and add about 2 inches of boiling water. Place the chopped chocolate in a heatproof bowl and set it over the pot. Stir occasionally until chocolate has melted completely, about 15 minutes. Set bowl on countertop, and let chocolate cool to room temperature, 15-20 minutes.
- In a medium bowl, using a hand mixer, beat butter and confectioners' sugar on medium-high speed until light and fluffy, 3 to 4 minutes. Add the vanilla and beat again.
- In a small bowl, whisk together the cocoa and the hot water.
- Using a spatula, scrape the melted chocolate into the creamed butter. Mix on low just until combined, scraping down the sides of the bowl. Pour in the cocoa mixture and sprinkle in the salt. Stir the frosting gently together with the spatula until smooth and well-combined.
Assemble and Frost
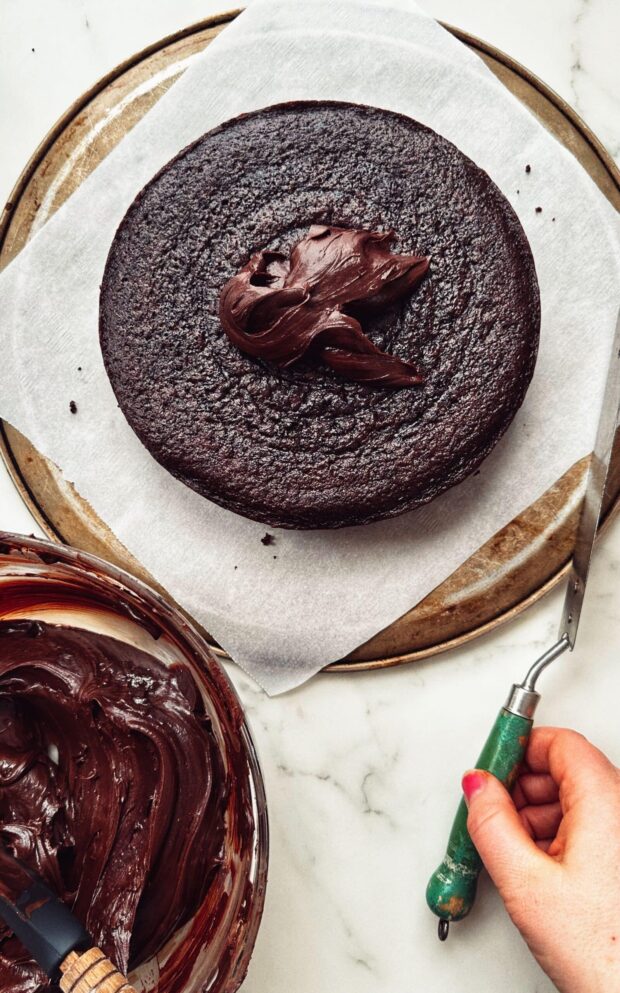
- Place a cake round on a large square of parchment paper. Add 1/3 cup of frosting in the center. Use an offset spatula to spread it evenly around the cake. Place another cake on top and repeat.
- Add the top layer of cake. Check the sides to see that they line up nice and straight. Add about a cup of frosting on top; spread and swirl to coat.
- Use all the remaining frosting to coat the sides of the cake. Drag the spatula around to swirl the sides.
- Slice and serve your cake immediately, while the frosting is soft. Or refrigerate until the frosting is firm, then loosely wrap in plastic and chill for up to 4 days. See post for freezing directions. Bring to room temperature before serving.
I have made many of your recipes and they’re always fantastic
This cake (actual cake part) was a dream to make. Frosting on the other hand? The recipe makes nowhere near enough to frost the entire cake. Which is really crappy to discover when you’re 2/3 through the process. And I even cut down on how much between the layers and subbed raspberry jam. To make an 8 in 3 layer cake, be sure to double the amount of frosting. I should have guessed when I read the quantities (3/4 cup butter and only 1/2 cup of icing sugar)
The cake was a success! So full of chocolate without it being overly sweet. Moist and decadent! And I don’t think I’ve ever iced a cake so easily- the icing is heavenly and there was plenty to ice the cake generously. A keeper!
Can I sub the sour cream with buttermilk?
This looks like the one-bowl chocolate cake from my childhood, with the addition of sour cream! I’m sure the sour cream makes it even better!
the cake looks wonderful but could you please tell me where can I get heavy cream? And is heavy cream also called whipping cream? I love eating it while playing geometry dash spam which is epic.